Run the installer
After starting the PHsPeed installer, you pass a few screens until you get the next dialog.
By default PHsPeed 3.0 will install in the PHsPeedV30 folder. You can change this. But do not install this version as an upgrade to your existing install!

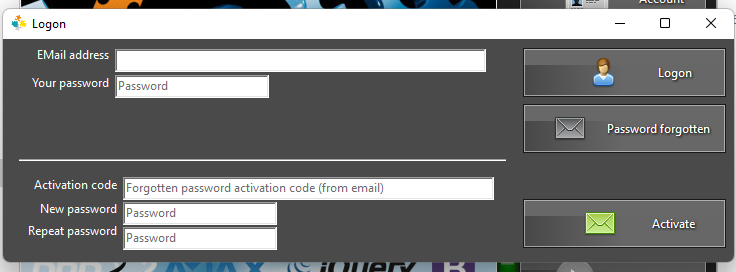
Next the installer will popup up.

If you are new to PHsPeed then use the I'm new and want to register option. If you already have an account then use the I'm a registered user options. Here we choose the first option.
As the install folder does not exists then the next dialog will popup. (The version number can differ). Click NO.
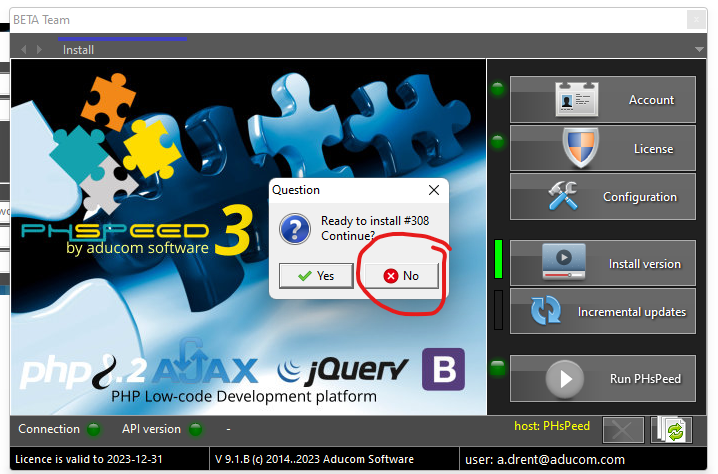
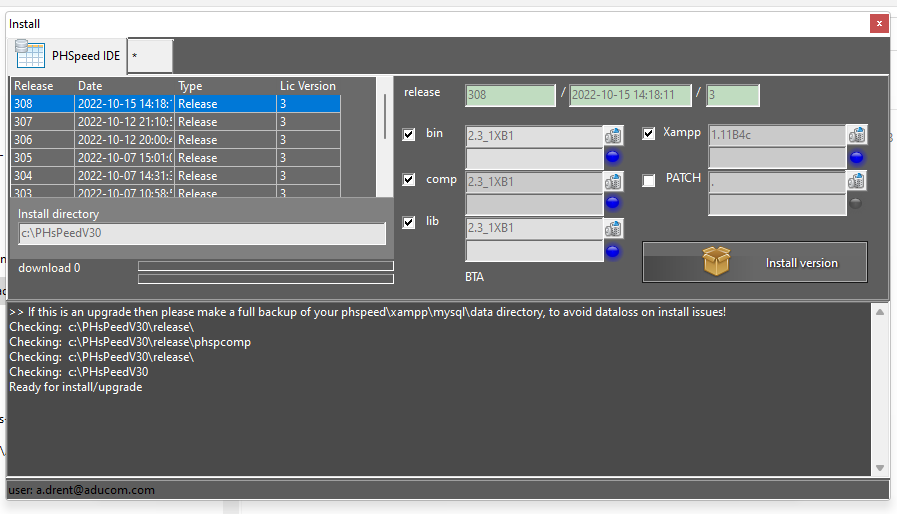
Go to the Install version menu, and click on the tab, marked with the *
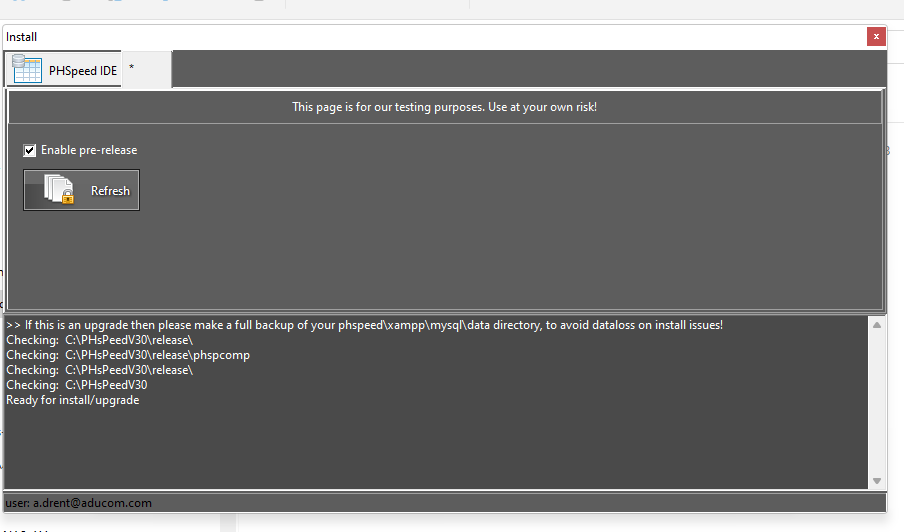
Check the Enable pre-release checkbox and click Refresh.
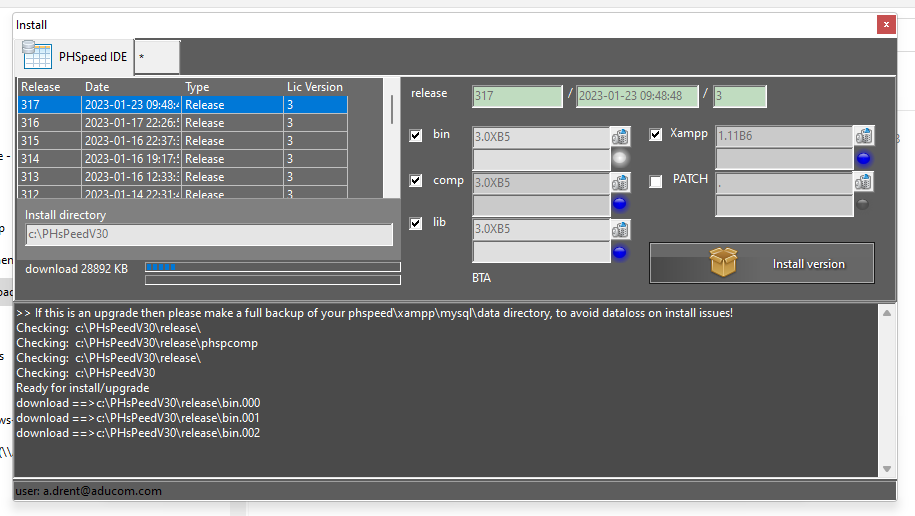
Now all versions are shown, and the most recent is the one to install.

Click on 'install version'. PHsPeed will start downloading and installing the modules.
Once done, PHsPeed will install the incremental updates.

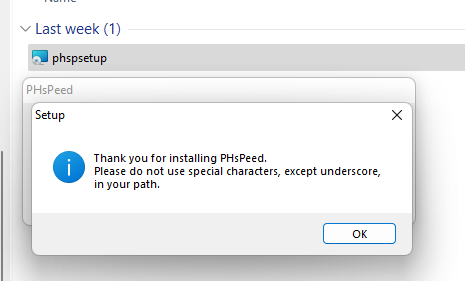
Be patient, depending on your location, the download and install can take quite some time! But after a while the following message will appear.
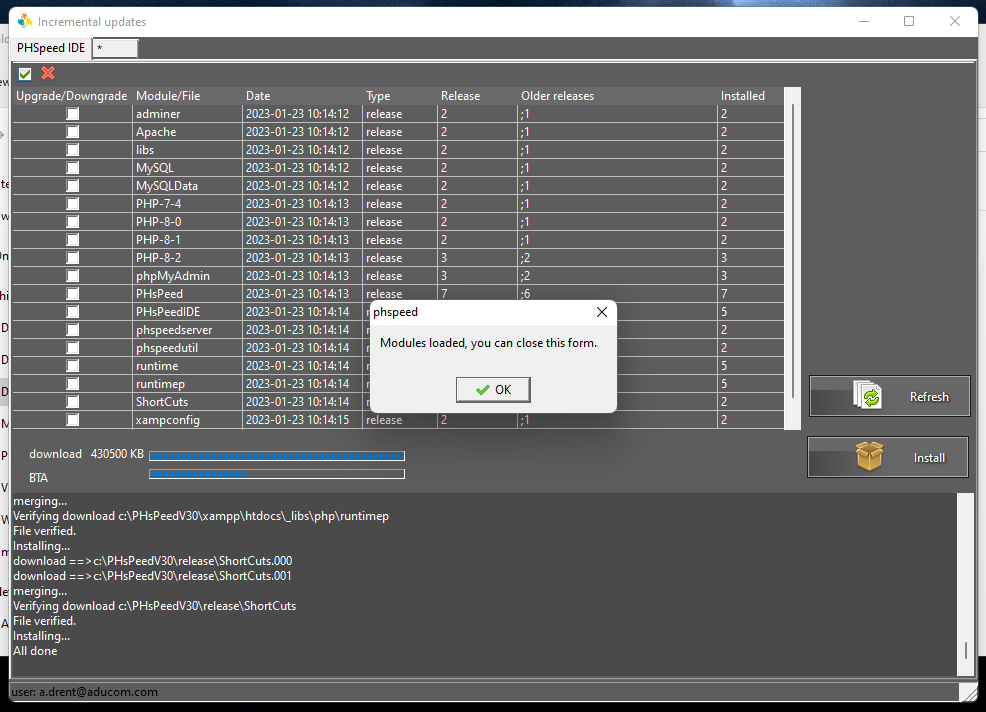
Close the form and the following screen will appear.
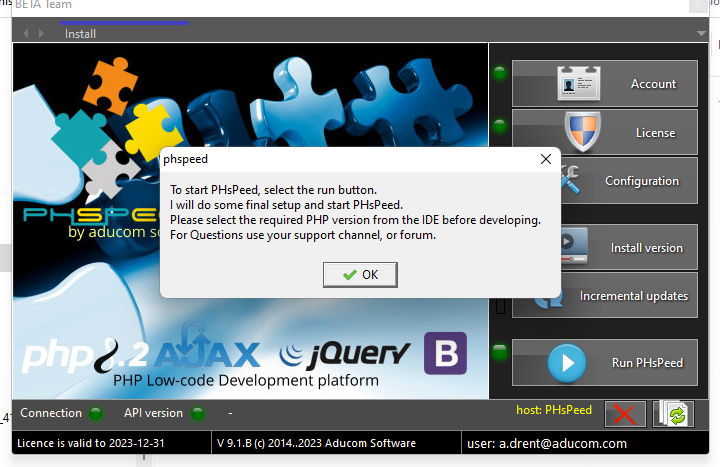
Close the dialog and click on 'run PHsPeed'. The green led left of the button will flash for some time as PHsPeed now makes some configurations. Then a dialog will come up and asks you to select the PHP version to use.
Note: By default PHsPeed now uses port 3307 for MySQL instead of 3306. If you intent to migrate your current projects then you might have the wish to stay with 3306. Especially when you move your connections to the new environment, then these are most likely set to 3306.
PHsPeed will verify the used connection in your projects and compare this to the MySQL port (if you use MySQL for that connection). If there is a mismatch, PHsPeed will give a warning and requests if it should change the port in your project or to change the port of the IDE. It does not change the port in your connection file. So make sure that the port of your database specification matches that of your project. The IDE requires access to the database as well.
If you use SQL Server, then do not choose PHP 8.2, as the PDO drivers for SQLServer are not released by Microsoft yet.
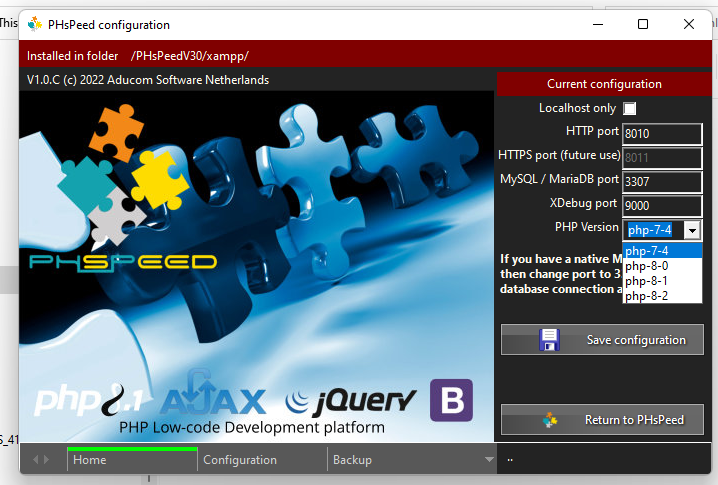
Click on save configuration and then return to PHsPeed. The IDE will start, and you can load the database demo application.

Click on 'Open sample', you find this option under Project.
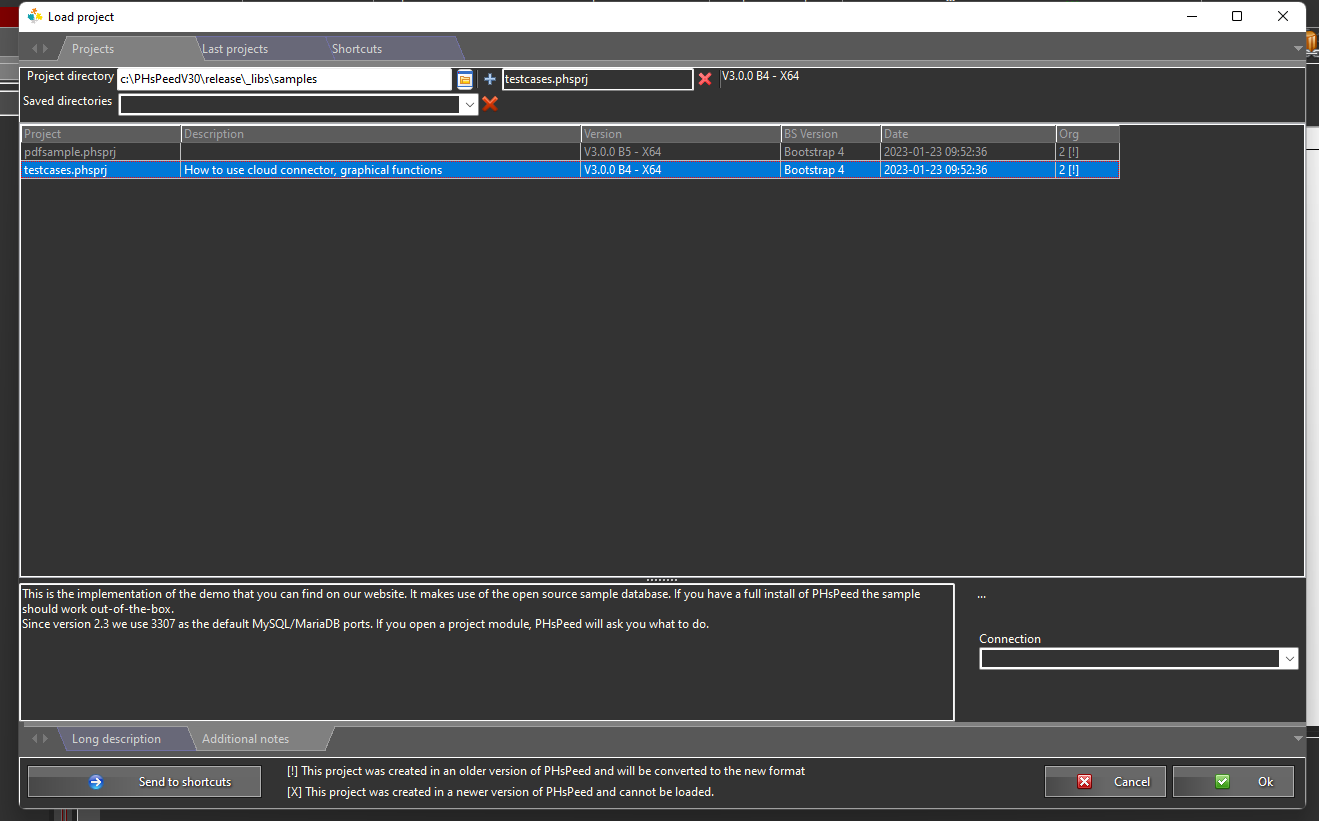
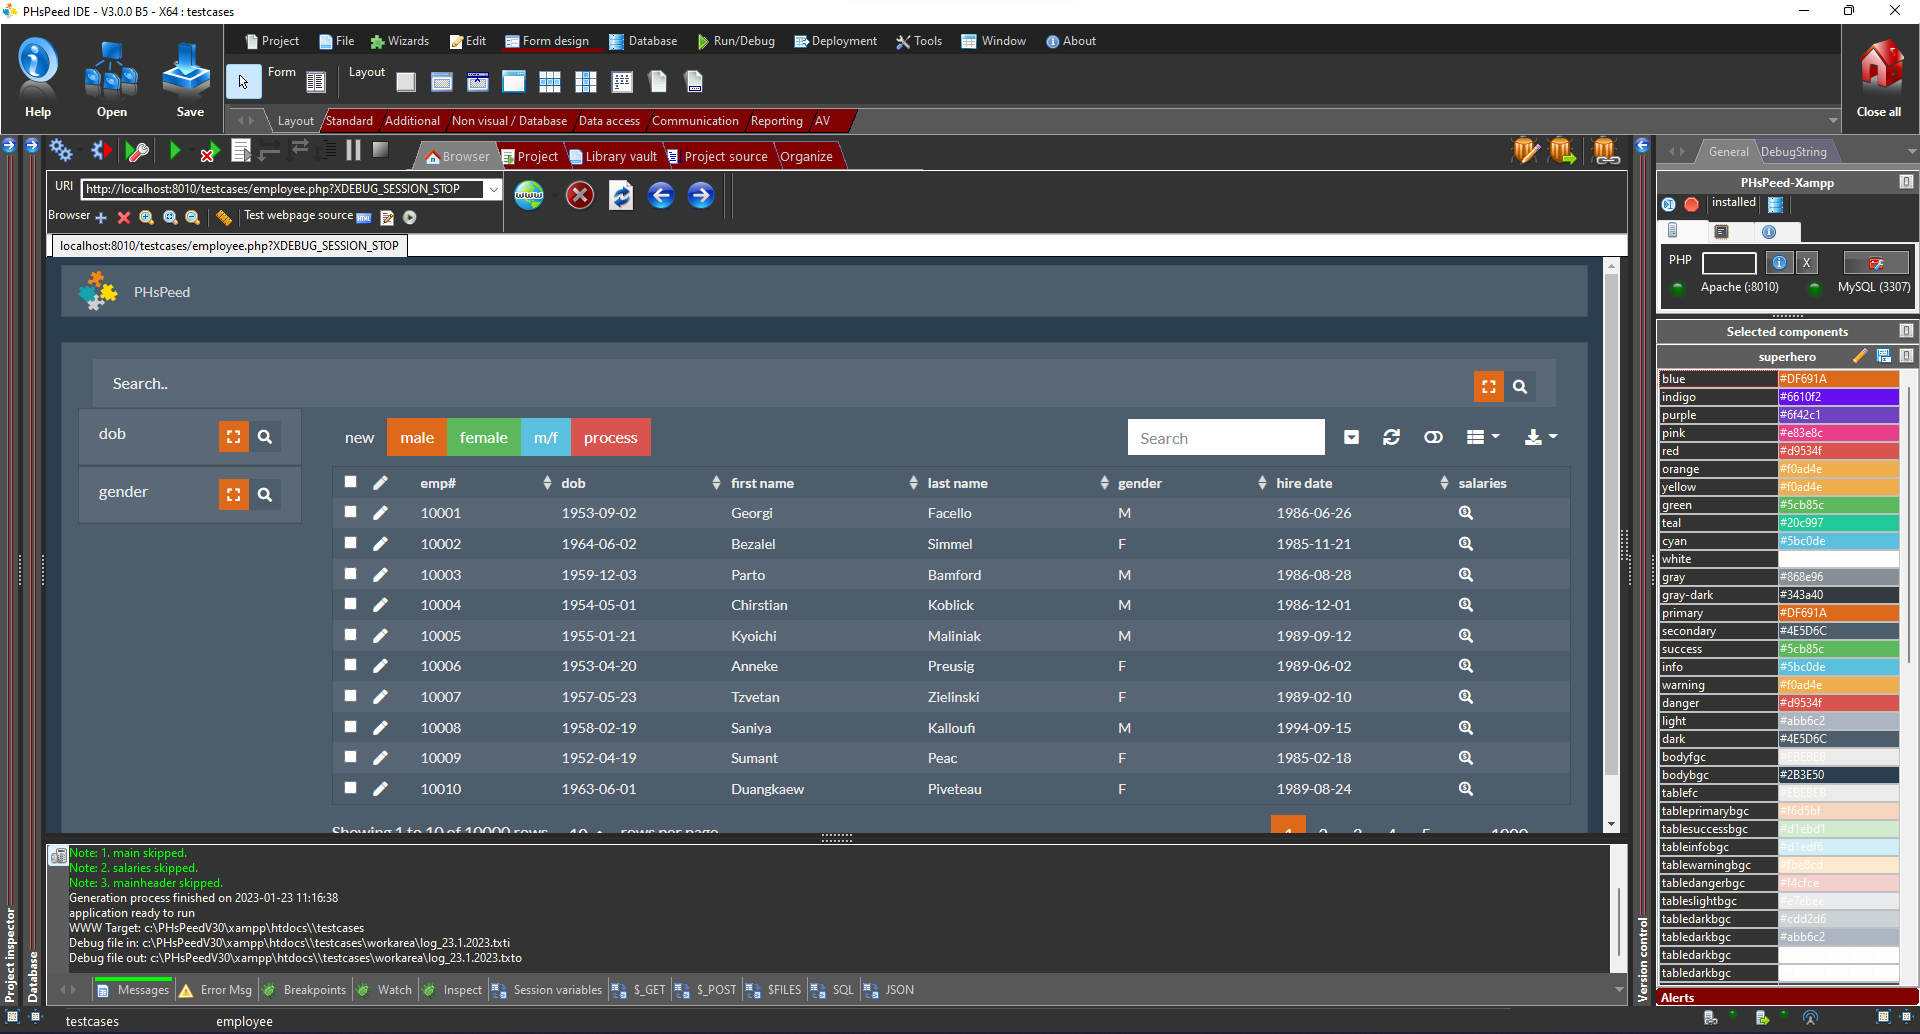
Click on testcases and then OK. The project will open and then click on 'employee' from the project manager.
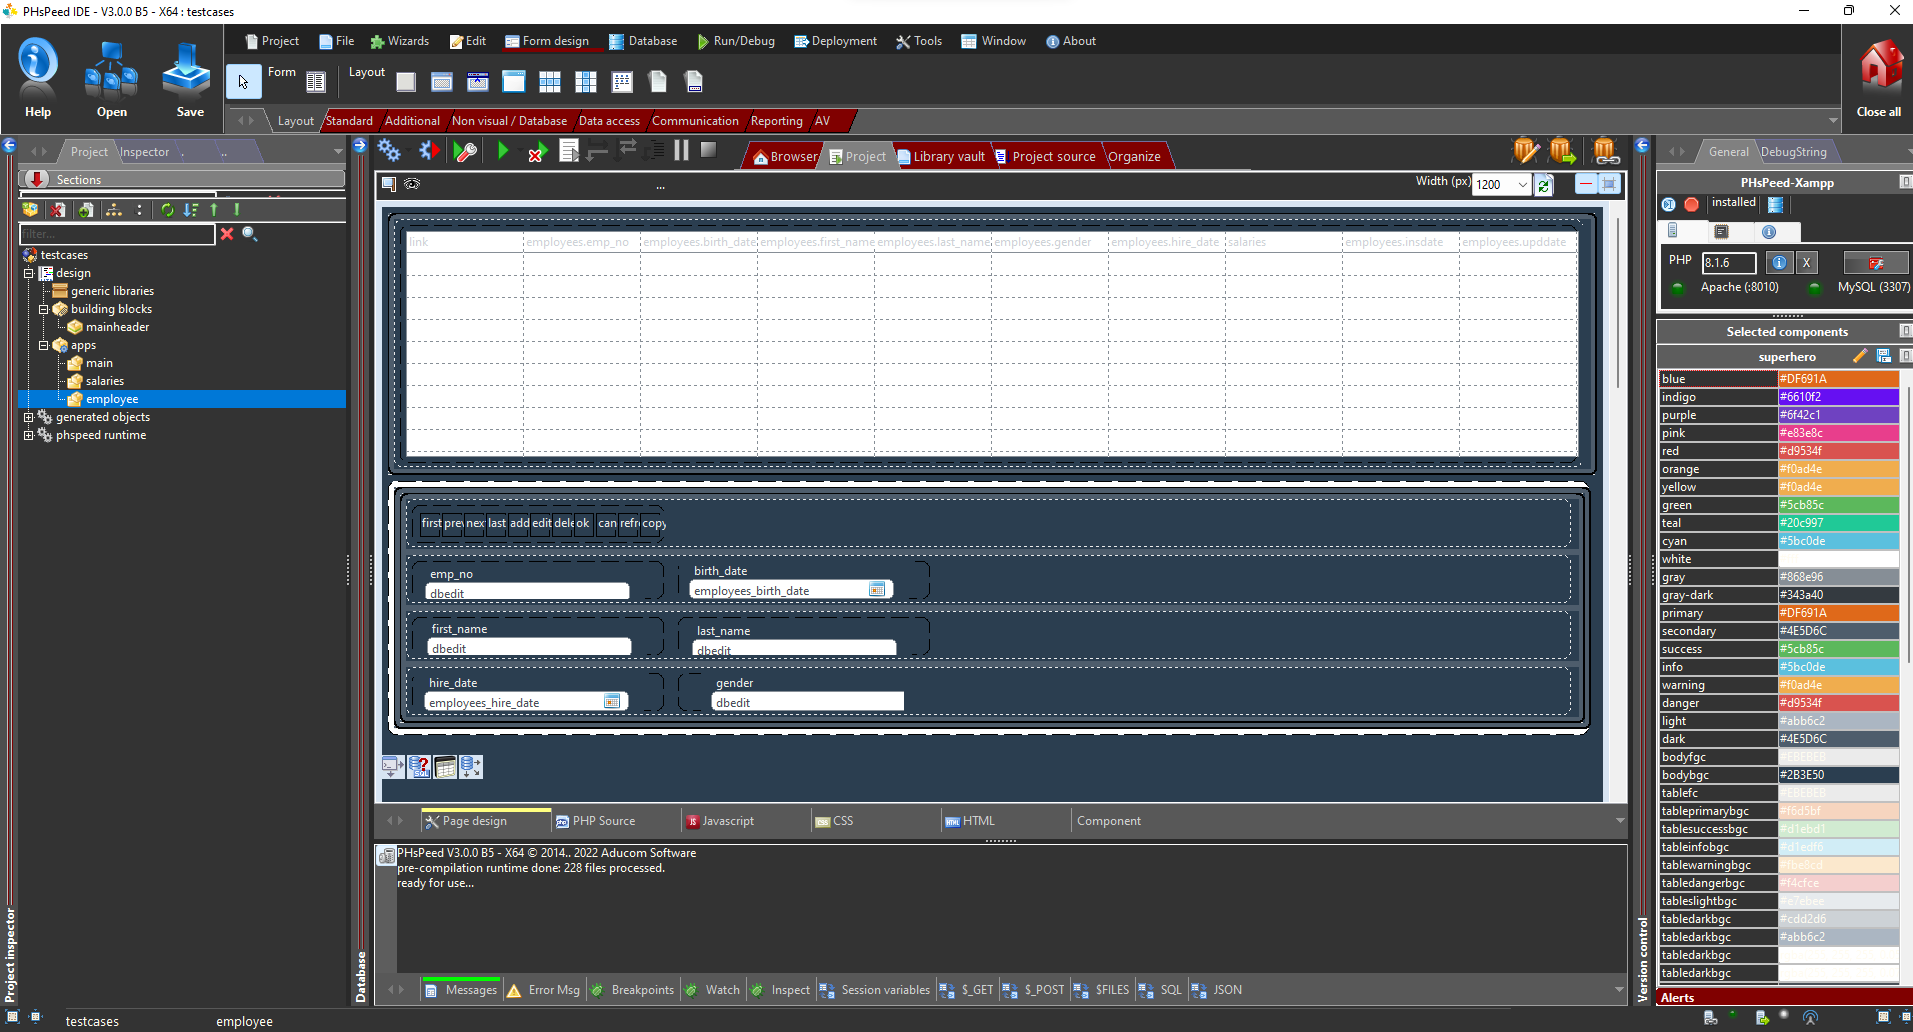
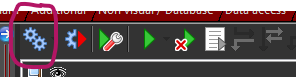
Now click on the Generate code.
When the generation process has finished, click the same button again. As PHsPeed keeps track of changed files, it does not initially process the building blocks as they are considered to be static, but it does process them on the second time.
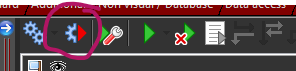
Select the employee module in your project manager (if it isn't selected) and then click the generate-and-run button:
The demo application will open. It is the same application as used on our website.